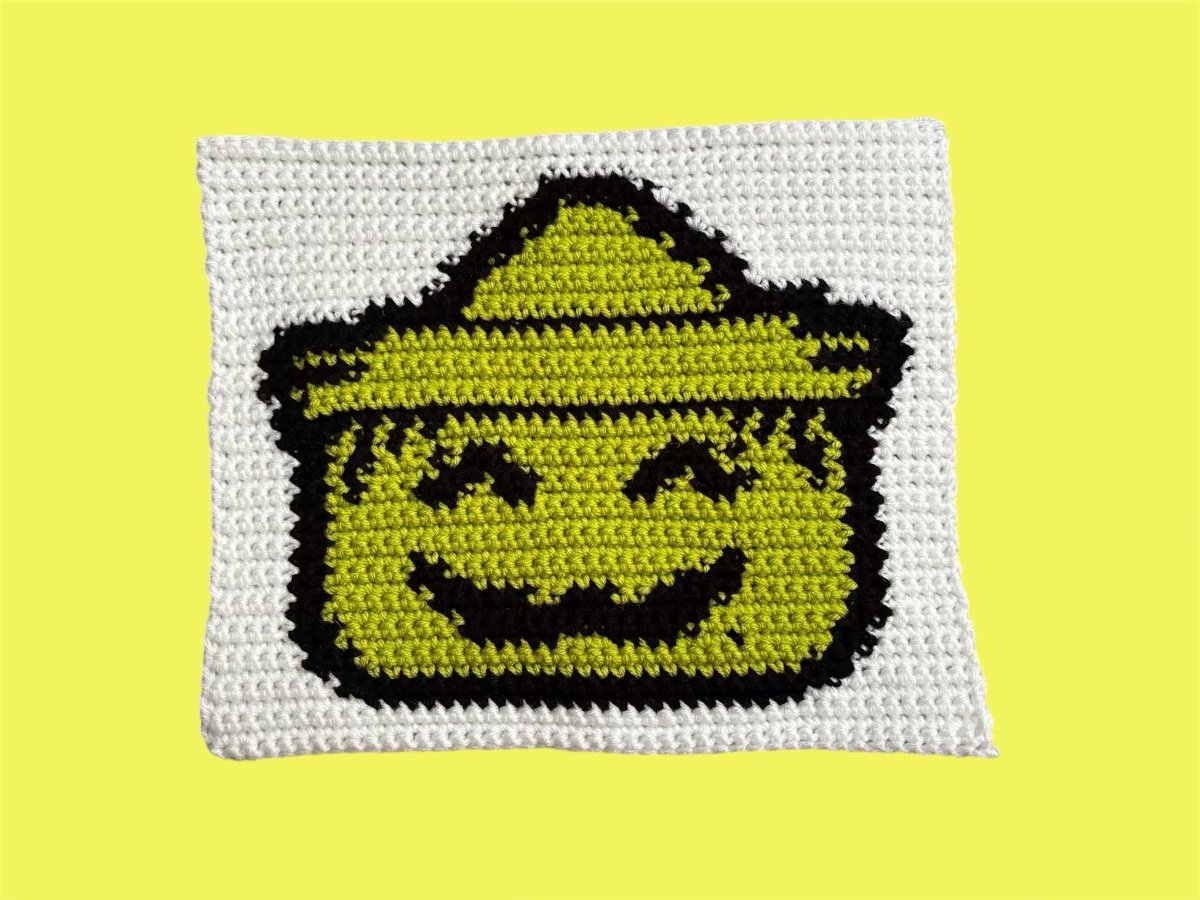
Merry Mushroom Pillow
If you know you know… this vintage mushroom jar set seemed to be one of those things that almost every family had at one point or another. I have always loved these so of course I thought it would so fun to make a crochet version! Scroll down for the free pattern!
Supplies:
H (5.0mm) crochet hook
Worsted weight yarn of your choice, I used:
Red Heart Super Saver in
Soft White
Saffron
Carrot
Frosty Green
Cafe
Pumpkin
Buff
Fiberfill Stuffing
Yarn Needle
Pattern Notes:
This pattern is suitable for a beginner. There are two main pieces, the front and the back. Mushroom appliques are sewn to only the front of the pillow only and then the front and the back are crocheted together. Finished size is 16 in. tall x 11 1⁄2 in wide. There is no gauge for this pattern but if you are a loose crocheter you may want to go down a hook size to avoid gaps for stuffing to show through your stitches. Adjusting your hook size may change the size of the finished pillow. You can experiment with other weights of yarn just be sure to adjust your hook size and the size of your pillow will differ.
Abbreviations:
CH - Chain
SC - Single Crochet
HDC - Half Double Crochet
DC - Double Crochet
INC - Increase by doing two single crochets in the same stitch DEC - Decrease by single crocheting two stitches together SLST - Slip Stitch
MR - Magic Ring
BLO - Working in the back loop only

Pattern:
Canister with Lid (make 2)
Row 1: Starting from the bottom, in Soft White CH 26, SC in 2nd CH from the hook and SC across (25) CH 1 and turn.
Row 2: INC, SC 23, INC (27) CH 1 and turn
Row 3: INC, SC 25, INC (29) CH 1 amd turn
Row 4:INC, SC 27, INC (31) CH 1 and turn
Row 5: INC, SC 29, INC (33) CH 1 and turn
Row 6: INC, SC 31, INC (35) CH 1 and turn
Row 7: SC across (35) CH 1 and turn
Row 8: INC, SC 33, INC (37) CH 1 and turn
Rows 9-21: SC across (37) CH 1 and turn (13 rows)
Row 22: DEC, SC 33, DEC (35) CH 1 and turn
Rows 23-26: SC across (35) CH 1 and turn (4 rows)
Row 27: DEC, SC 31, DEC (33) CH 1 and turn
Rows 28-32: SC across (33) CH 1 and turn (5 rows)
Row 33: DEC, SC 29, DEC (31) CH 1 and turn
Rows 34-35: SC across (31) CH 1 and turn (2 rows)
Row 36: DEC, SC 27, DEC (29) CH 1 and turn
Rows 37-39: SC across (29) CH 1 and turn (3 rows)
Change to Cafe
Row 40: SC across (29) CH 1 and turn
Row 41: INC, INC, SC 25, INC, INC (33) CH 1 and turn
Row 42: SC across (33) CH 1 and turn
Row 43: INC, INC, SC29, INC, INC (37) CH 1 and turn
Change to Saffron
Row 44: DEC, DEC, SC 29, DEC, DEC (33) CH 1 and turn
Row 45: DEC, DEC, SC 25, DEC, DEC (29) CH 1 and turn
Row 46: DEC, SC 25, DEC (27) CH 1 and turn
Row 47: DEC, SC 23, DEC (25) CH 1 and turn
Row 48: DEC, SC 21, DEC (23) CH 1 and turn
Row 49: DEC, SC 19, DEC (21) CH 1 and turn
Row 50: DEC, SC 17, DEC (19) CH 1 and turn
Row 51: DEC, DEC, SC 11, DEC, DEC (15) CH 1 and turn
Row 52: DEC, DEC, SC 7, DEC, DEC (11) CH 1 and turn
Row 53: DEC, SC 7, DEC (9) CH 1 and turn
Row 54: DEC, SC 5, DEC (7) CH 1 and turn Finish off
Large Mushroom
Row 1: Starting from the bottom, in Pumpkin CH 15, SC in 2nd CH from the hook and SC across (14) CH 1 and turn.
Row 2: DEC, SC 10, DEC (12) CH 1 and turn
Row 3: SC across (12) CH 1 and turn
Row 4: DEC, SC 8, DEC (10) CH 1 and turn
Row 5: SC across (10) CH 1 and turn
Row 6: DEC, SC 6, DEC (8) CH 1 and turn
Row 7: SC across (8) CH 1 and turn
Row 8: DEC, SC 4, DEC (6) CH 1 and turn
Row 9: DEC, SC 2, DEC (4) CH 1 and turn
Row 10: DEC, DEC (2)
CH 1 and SC around the mushroom to give it a finished look. When you get back to the first SC do a SLST and finish off. Leave a long tail for sewing on to the canister.
Use Cafe to stitch on some dots to the Mushroom piece.
Stem
In Buff CH 9, SC in the 2nd CH from the hook and continue down the CH as follows SC, SC, HDC, HDC, HDC, DC, DC 4 in the last CH, working down the other side of the CH, DC, HDC, HDC, SC, SLST, SLST, SLST and finish off. Leave a long tail for sewing on the canister.
Medium Mushroom
Row 1: Starting from the bottom, in Cafe CH 7, SC in 2nd CH from the hook and SC across (10) CH 1 and turn.
Row 2: DEC, SC 6, DEC (8) CH 1 and turn
Row 3: SC across (8) CH 1 and turn
Row 4: DEC, SC 4, DEC (6) CH 1 and turn
Row 5: SC across (6) CH 1 and turn
Row 6: DEC, SC 2, DEC (4) CH 1 and turn
Row 7: DEC, DEC (2)
CH 1 and SC around the mushroom to give it a finished look. When you get back to the first SC do a SLST and finish off. Leave a long tail for sewing on to the canister.
Use Soft White to stitch on some dots to the Mushroom piece.
Stem
In Buff CH 7, SC in the 2nd CH from the hook and continue down the CH as follows SC, SC, HDC, HDC, DC 3 in the last CH, working down the other side of the CH, HDC, SC, SLST, SLST, SLST and finish off. Leave a long tail for sewing on the canister.
Small Mushroom
Row 1: Starting from the bottom, in Carrot CH 9, SC in 2nd CH from the hook and SC across (8) CH 1 and turn.
Row 2: SC across (8) CH 1 and turn
Row 3: SC across (8) CH 1 and turn
Row 4: DEC, SC 4, DEC (6) CH 1 and turn
Row 5: DEC, SC 2, DEC (4) CH 1 and turn
Row 6: DEC, DEC (2)
CH 1 and SC around the mushroom to give it a finished look. When you get back to the first SC do a SLST and finish off. Leave a long tail for sewing on to the canister.
Stem
In Buff CH 5, SC in the 2nd CH from the hook and continue down the CH as follows HDC, HDC, DC 4 in the last CH, working down the other side of the CH, HDC, SC, SLST and finish off. Leave a long tail for sewing on the canister.
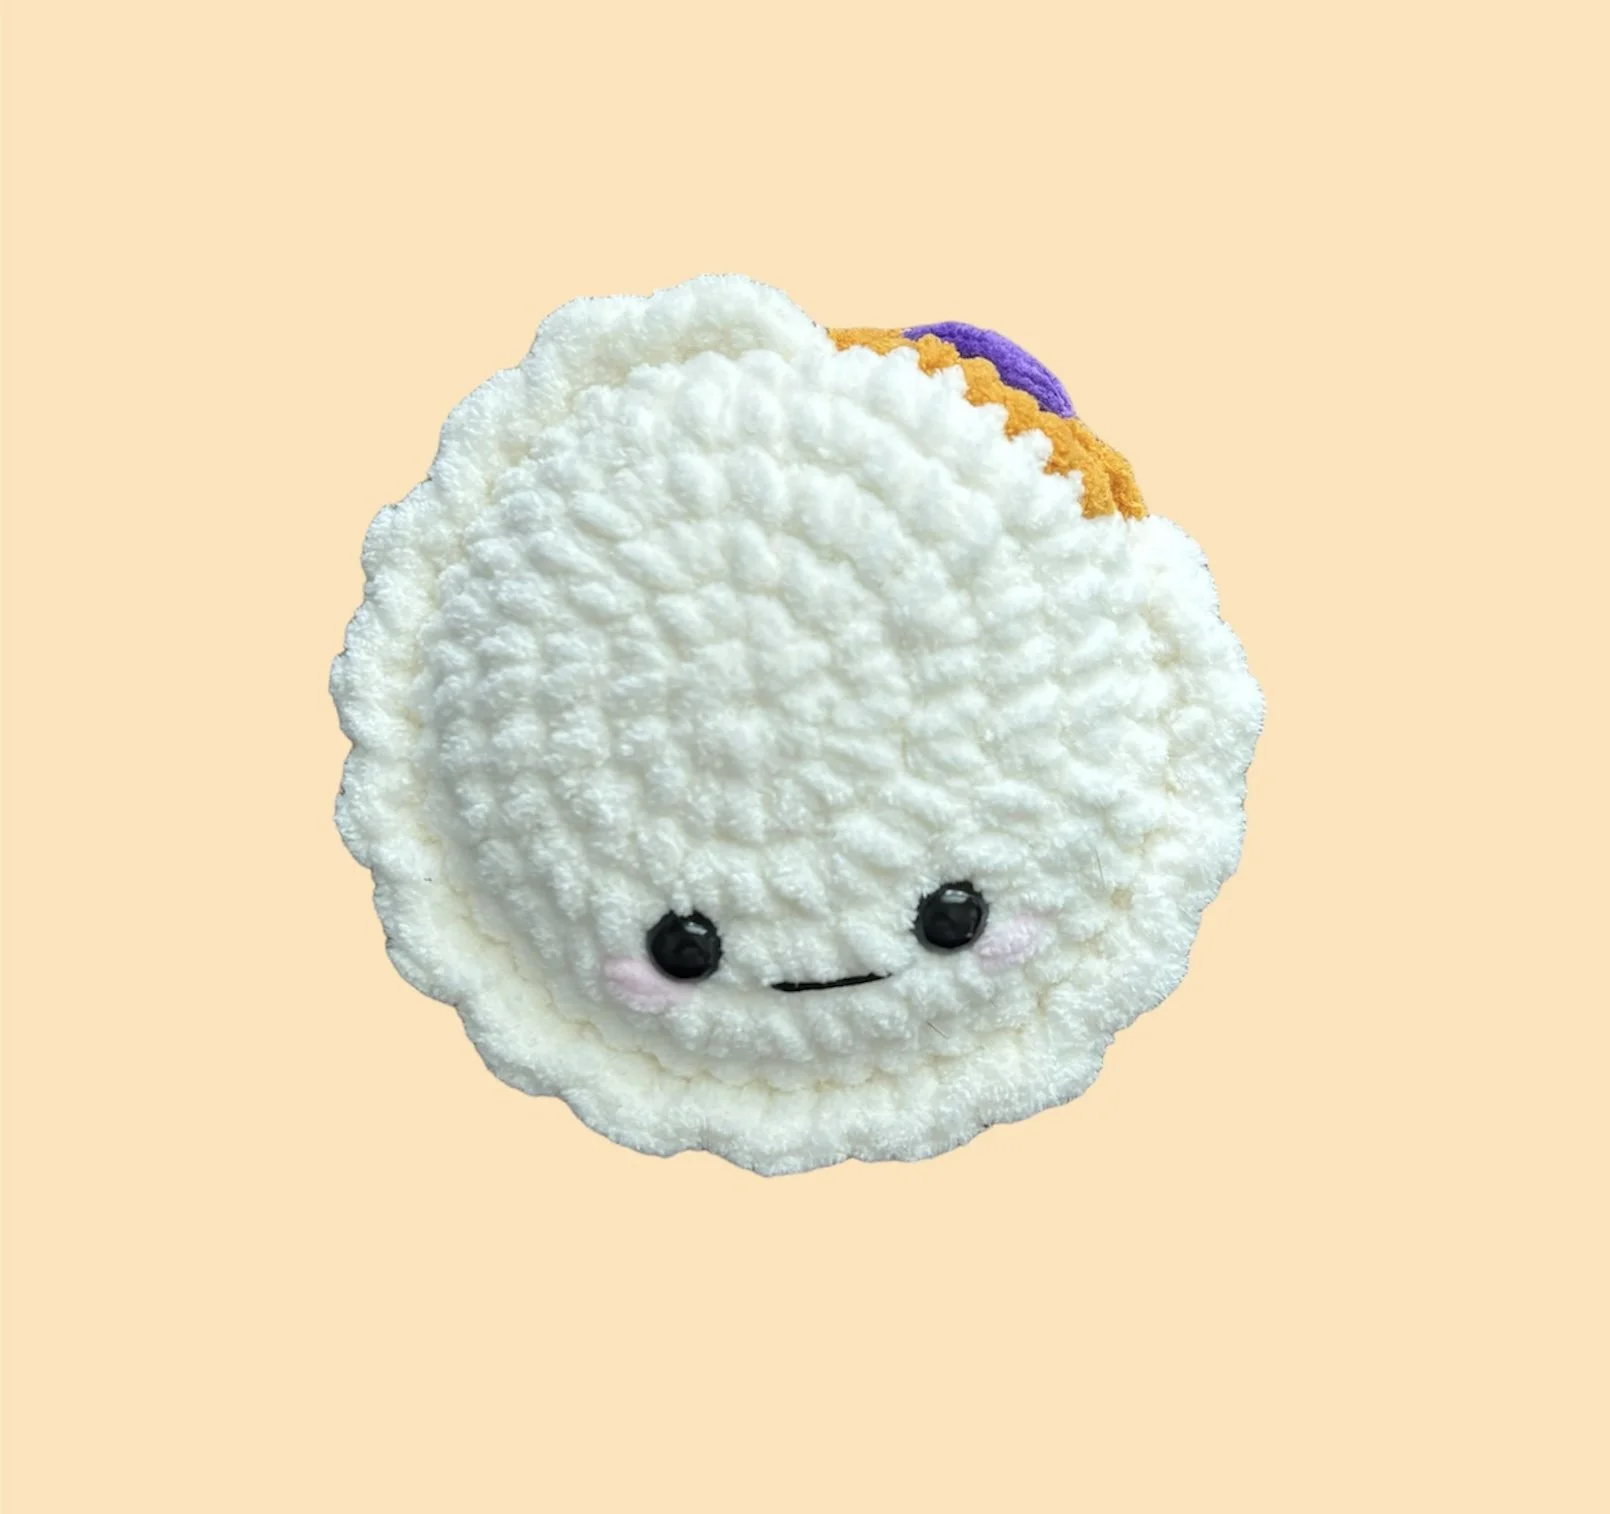
Mushroom Knob for the Lid
With Carrot MR 6
Row 1: (INC) repeat around (12)
Row 2: (INC, SC) repeat around (18)
Rows 3-5: SC 18 (3 rows)
Change to Buff for the stem
Row 6: In BLO, (DEC) repeat around (8)
Row 7: (DEC, SC, SC) twice (6)
Stuff the orange part of the mushroom and fold in half and SC through both sides across 3 stitches, CH 1 and turn, SC 3, CH 1 and turn, SC 3, CH 1 and turn, SC 3 and finish off.
Finishing:
Using the picture as a guide for finishing, sew the mushrooms and stems to one side of the canister. With Frosty Green stitch on grass.
With the front of the canister facing you start at the bottom right and SC around the front and back of the canister. Make sure to change colors when you get to the lid portion, once you get to the bottom of the canister firmly stuff but be careful to not over stuff. You want your canister to have a flat pillow-like shape. Continue to SC across the bottom being sure you are going through both sides. Sew the Mushroom Knob on the top, leaving the flat part of the stem to curl up. Weave in all your ends.
Happy Crocheting!
Click below for the inexpensive, easy to print PDF
If you make this, don’t forget to tag us on Instagram: @Clickety_Sticks
You can also ask questions, get help with a WIP or brag about your finished item in our facebook group Clickety Sticks Craft Community
LET’S CONNECT!